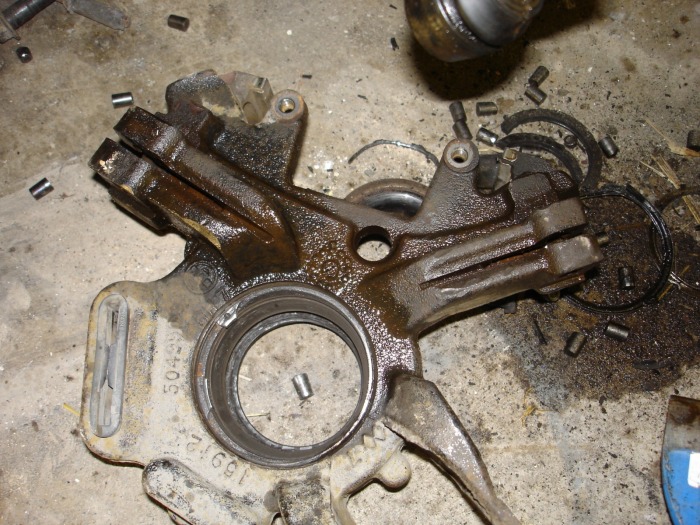
Wheel Bearing Repair Photos
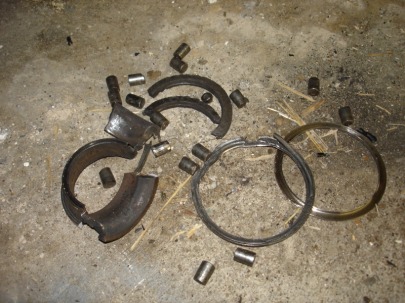
Parts of bearing that failed.
These are from my 1st bearing replacement on
passenger side. I ran it way longer than I probably
should have. I was going by the sounds the wheel
was making to decide when to start the repair.
When I jacked it up and the wheel wobbled
about an inch at the tire tread, I knew that was not
good.
passenger side. I ran it way longer than I probably
should have. I was going by the sounds the wheel
was making to decide when to start the repair.
When I jacked it up and the wheel wobbled
about an inch at the tire tread, I knew that was not
good.
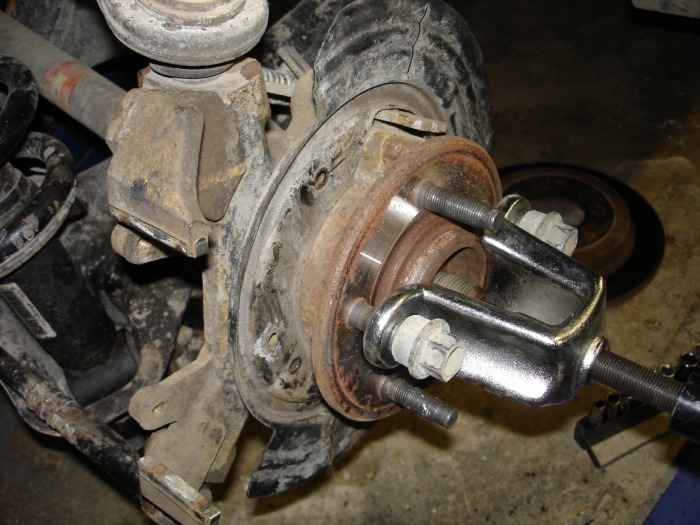
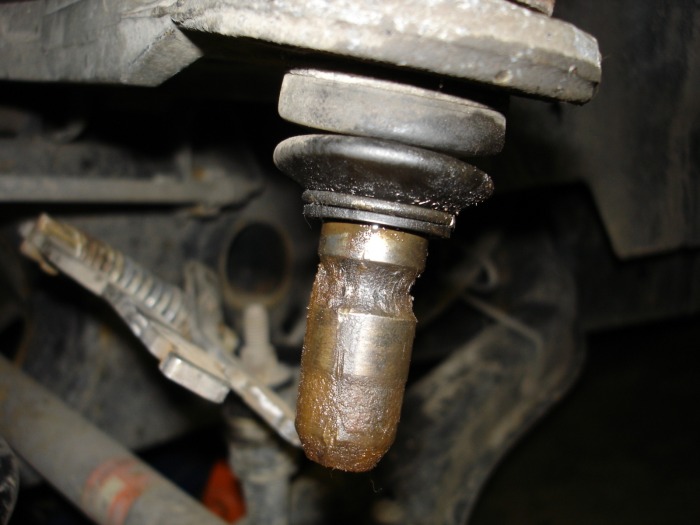
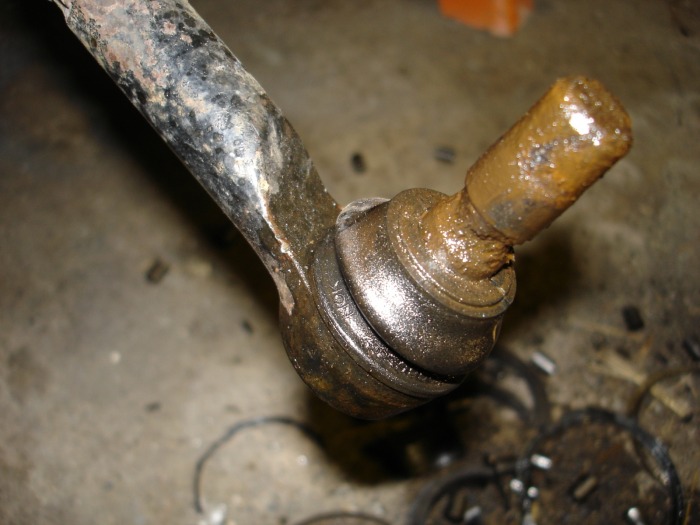
The hardest things to remove in this job was hub from the axle spline and the ball joint posts in the wheel knuckle.
Left photo shows hub puller attached. You need the deep capacity puller.
Center photo shows upper ball joint post that needs sprayed with PB Blaster
and let set for a day, then lots of hammering to finally get it loose.
Right photo simular to center photo is the tracking control link ball joint
which was also sprayed with PB Blaster let set before trying to remove.
The split in the wheel bearing knuckle that the posts of the ball joints go into
allows moisture to get to that clamp joint and rusts.
